| Publisher | 3D assets team |
|---|---|
| File size | 637.86MB |
| Number of files | 303 |
| Latest version | 2020.2.1 |
| Latest release date | 2021-01-13 07:44:43 |
| First release date | 2017-11-30 12:08:20 |
| Supported Unity versions | 2018.4.2 or higher |
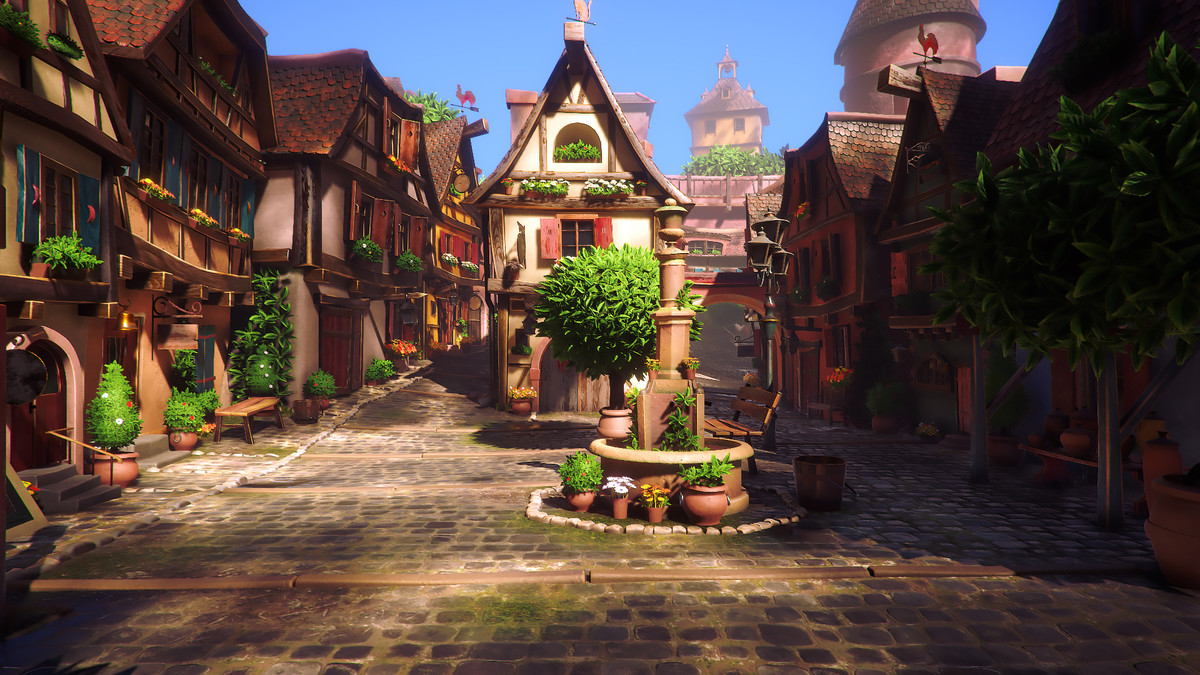
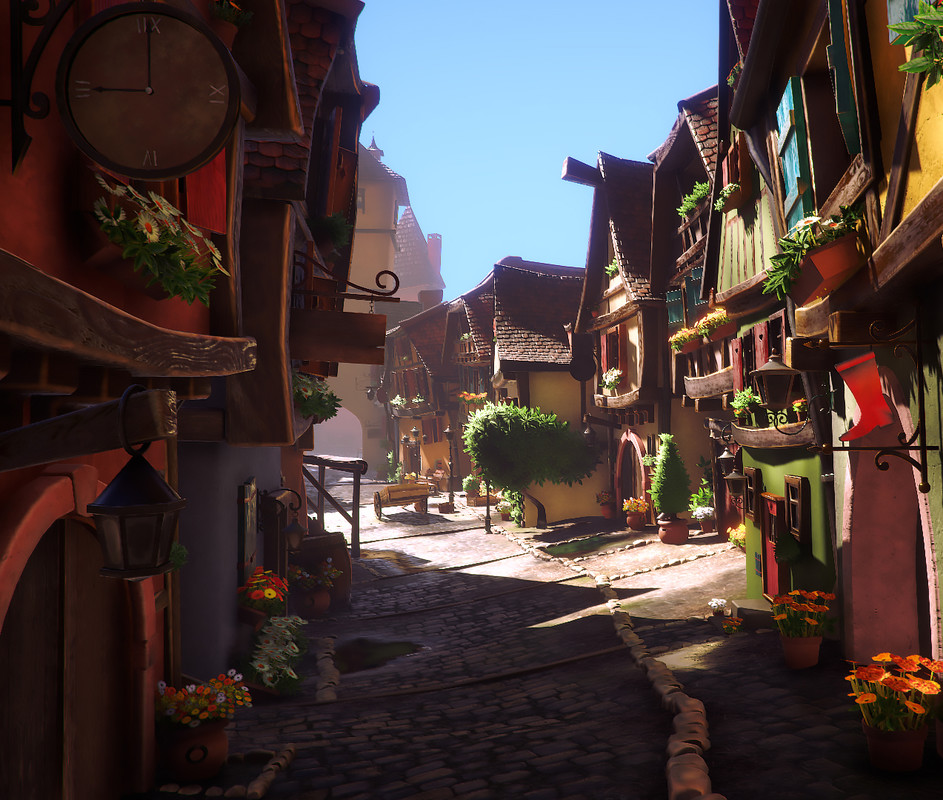
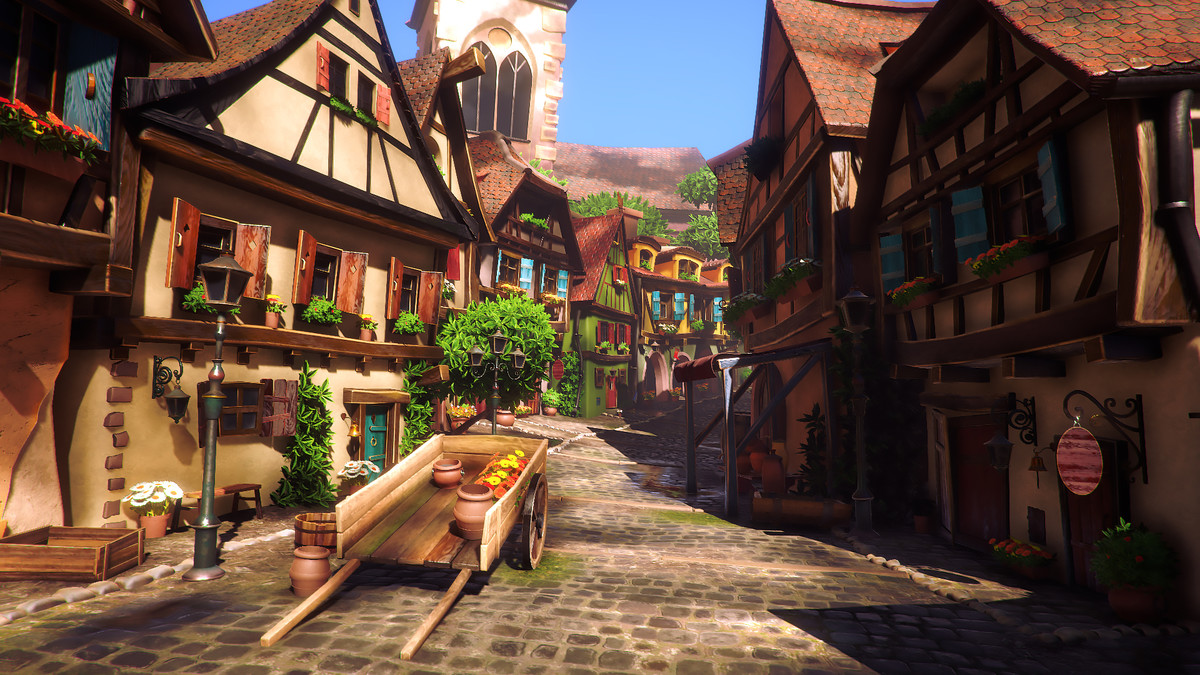
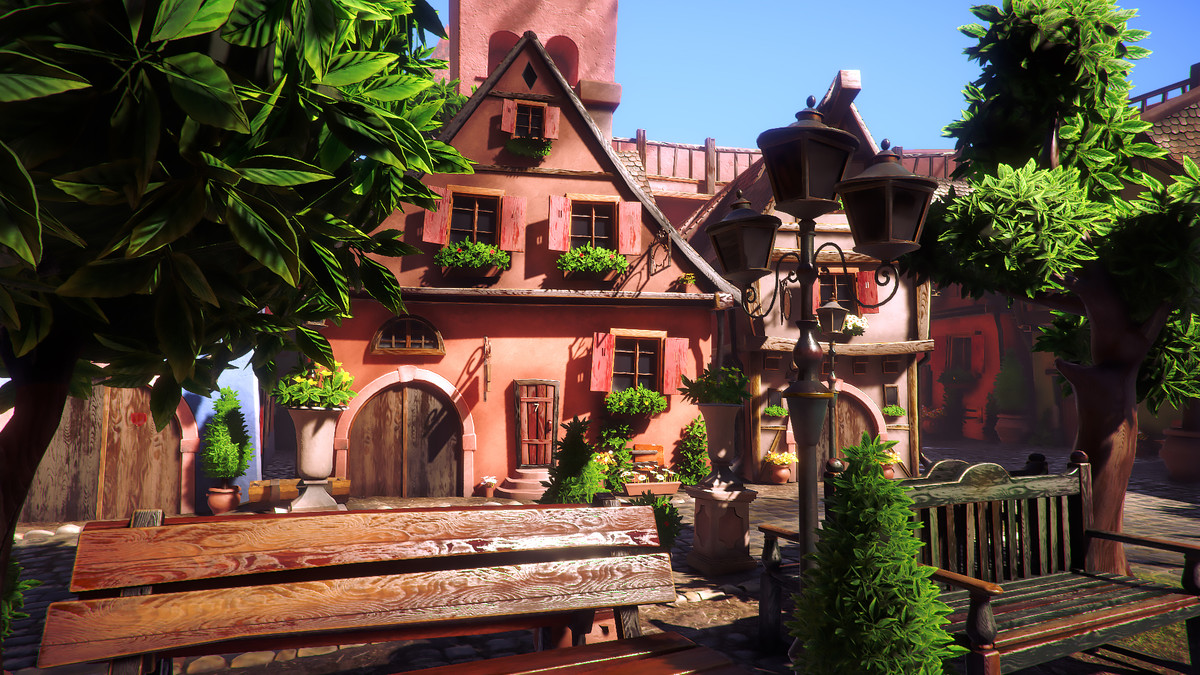
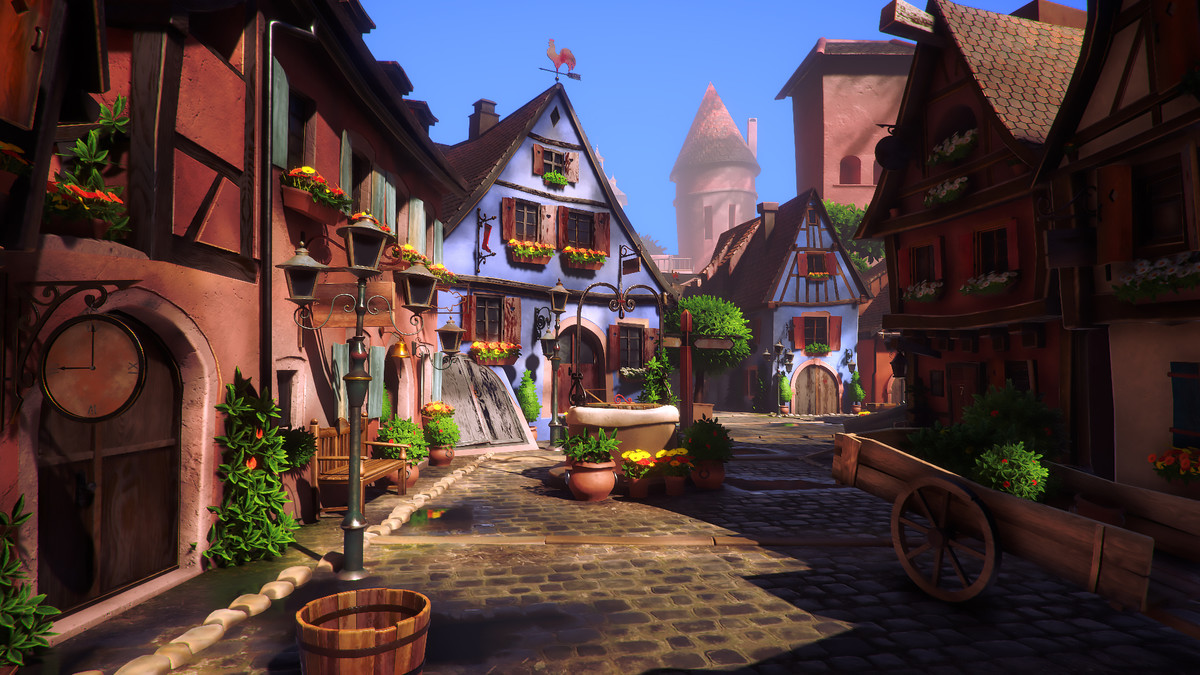
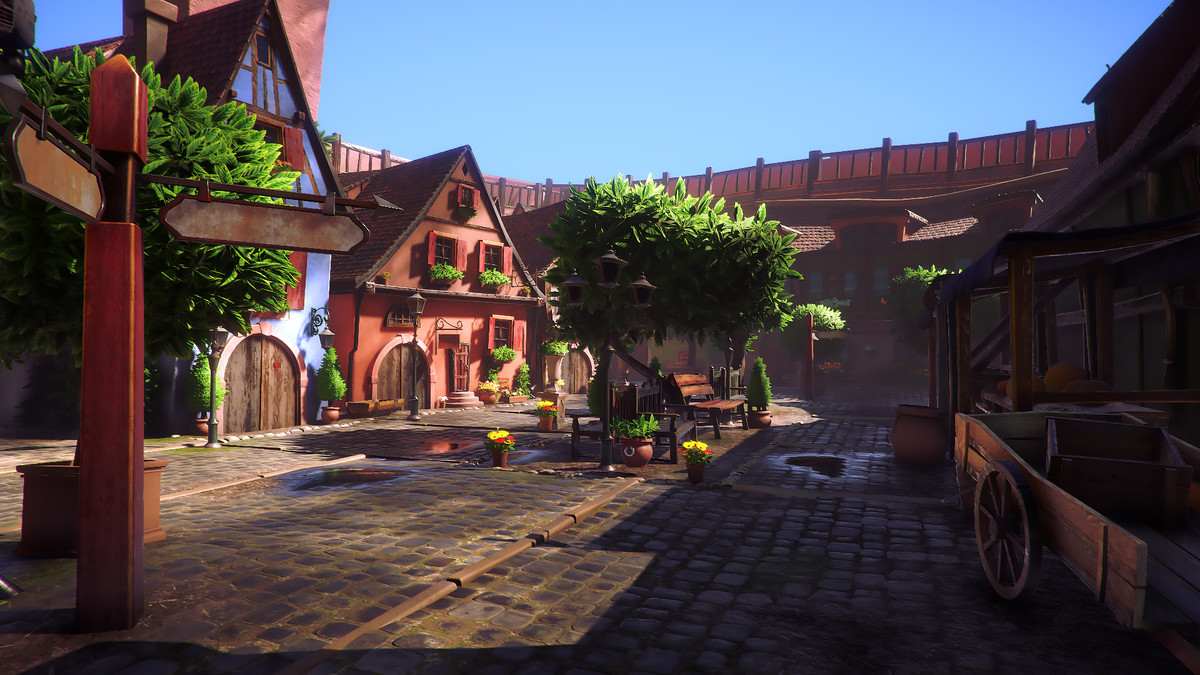
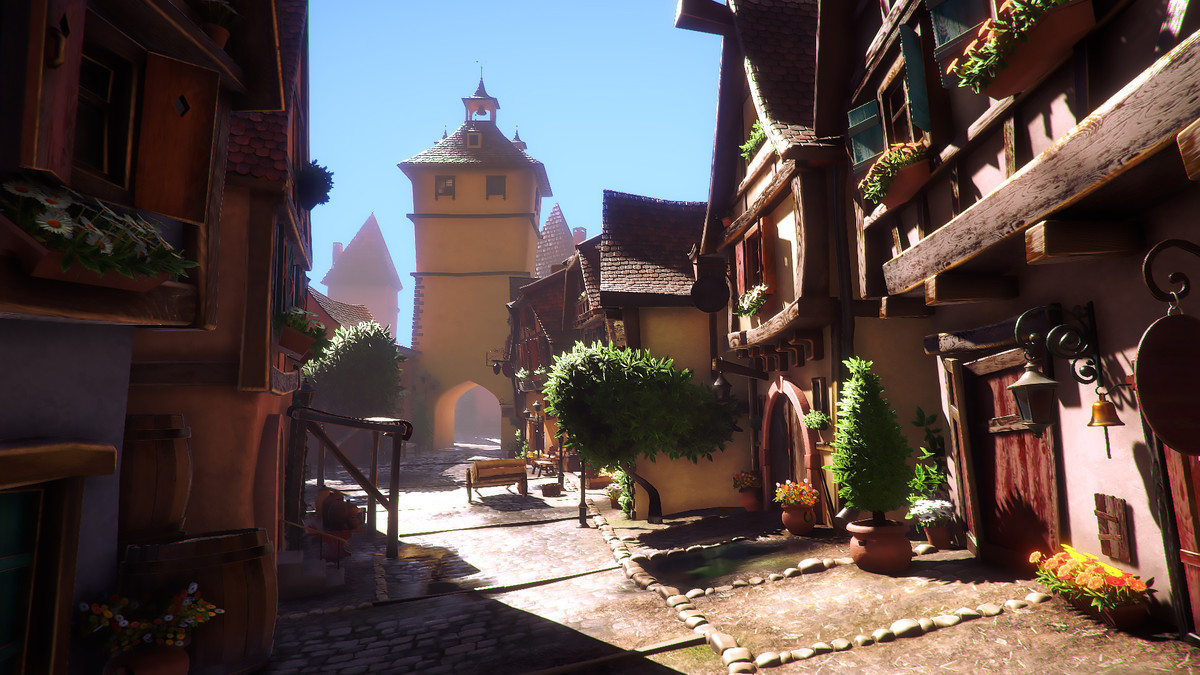
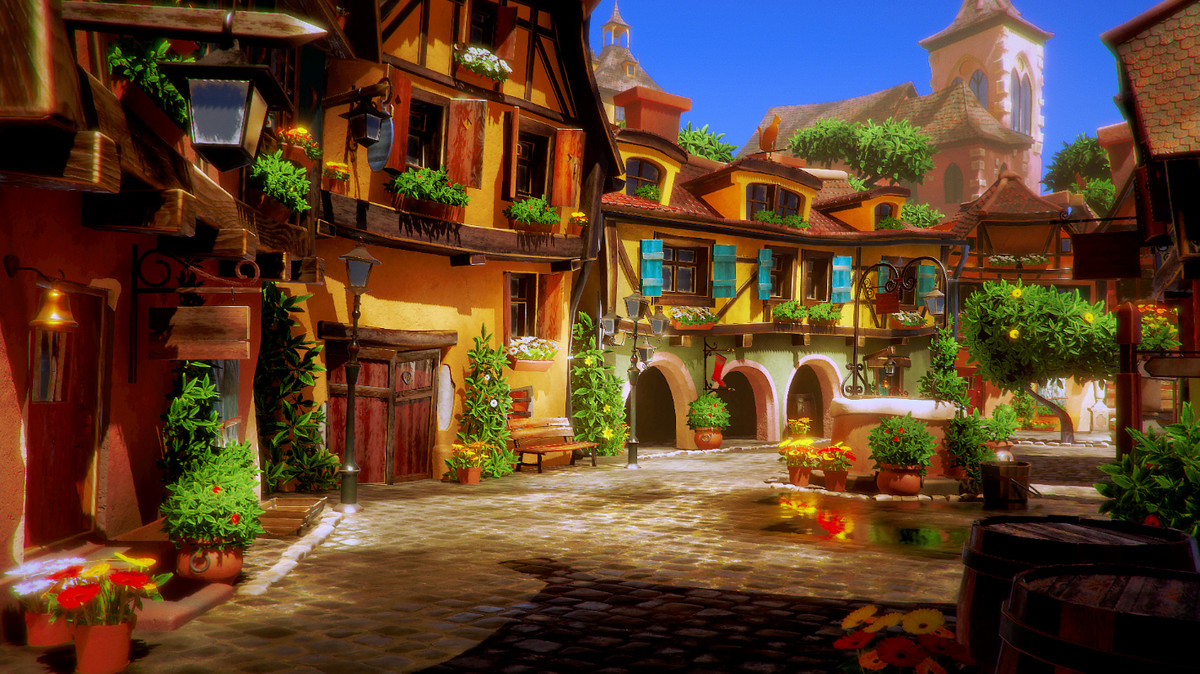
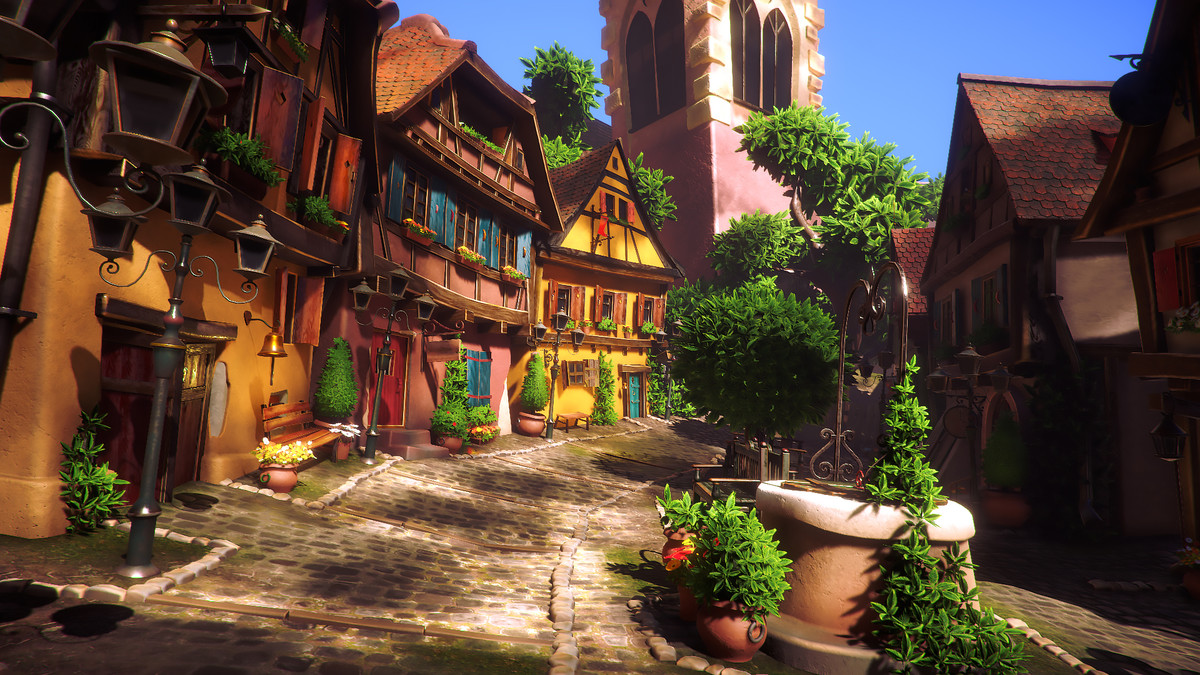
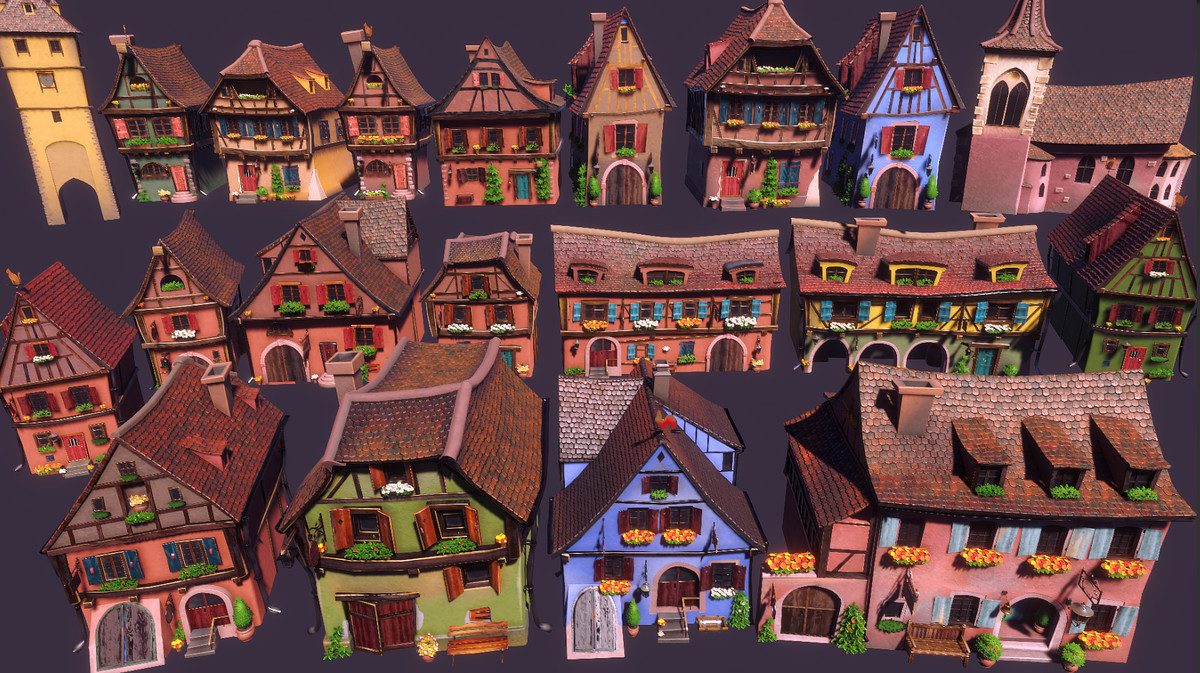
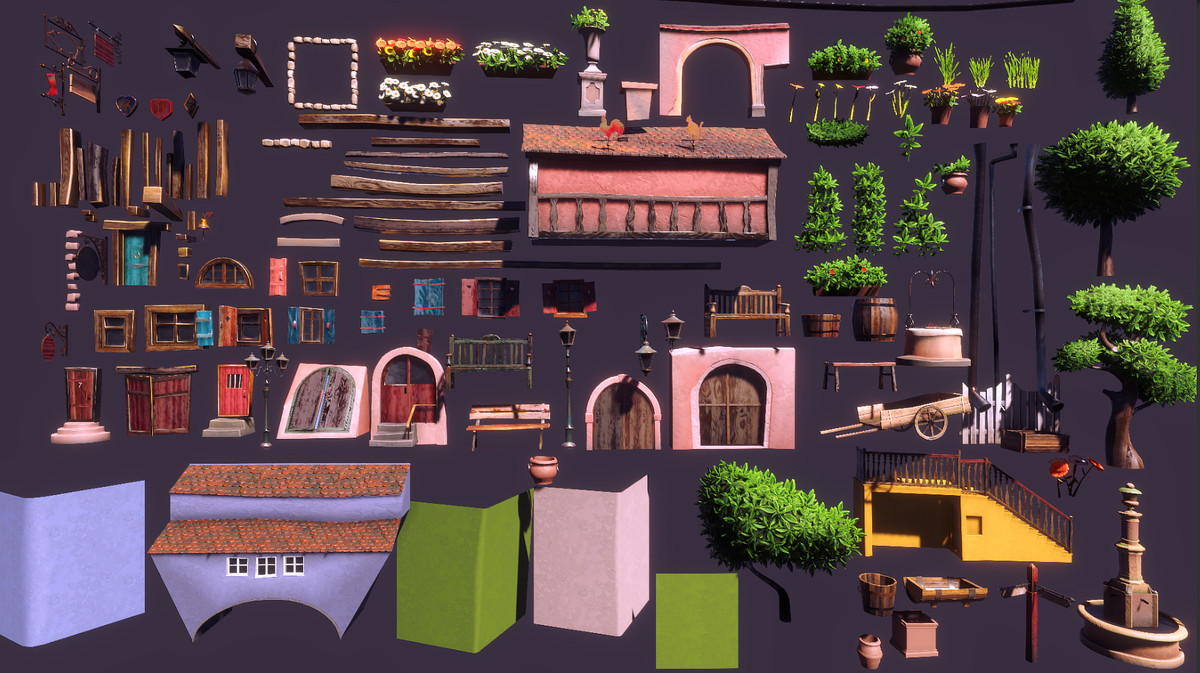
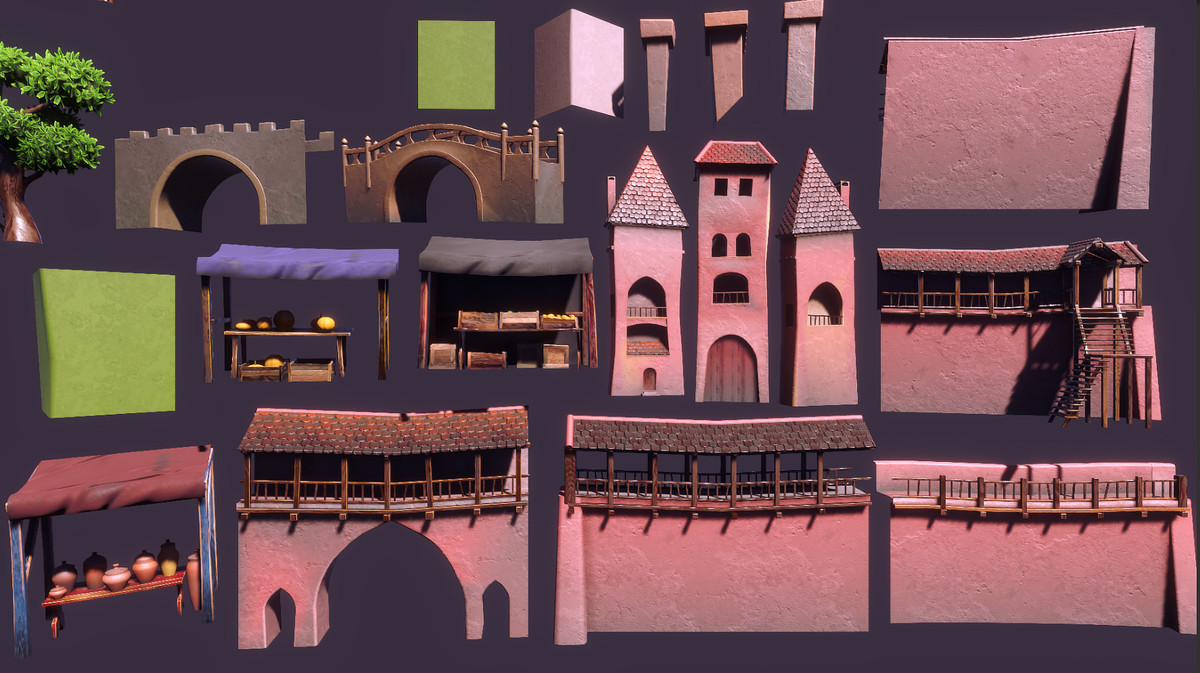
High-quality Village Environment Pack
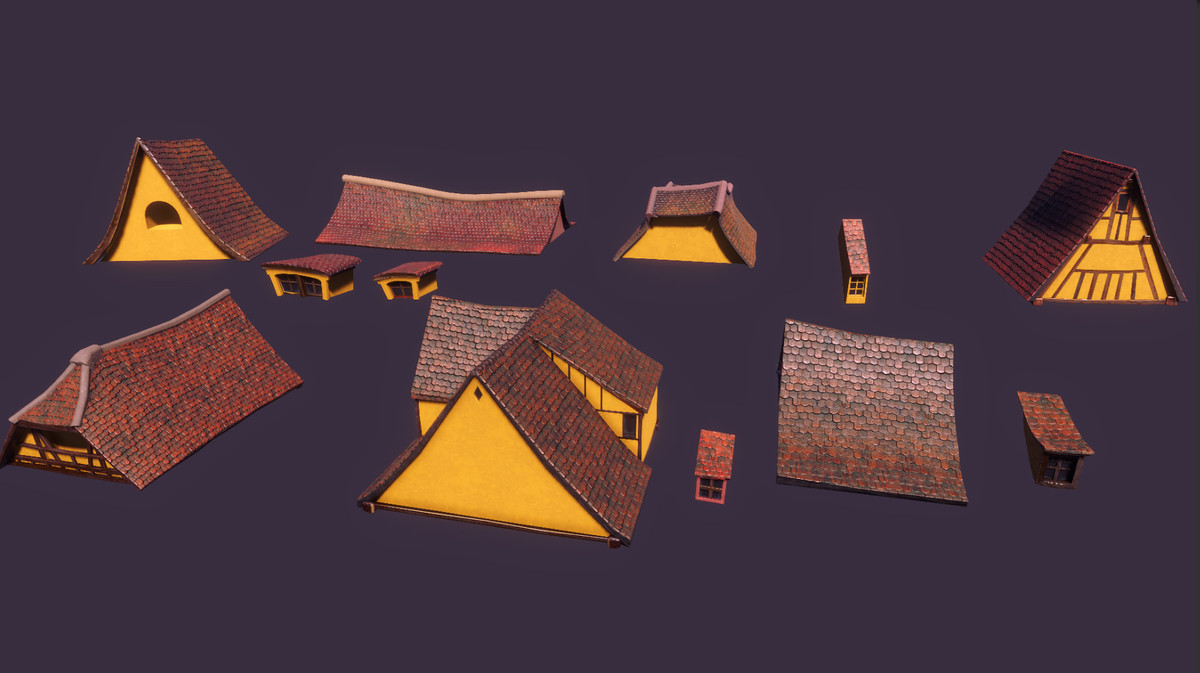
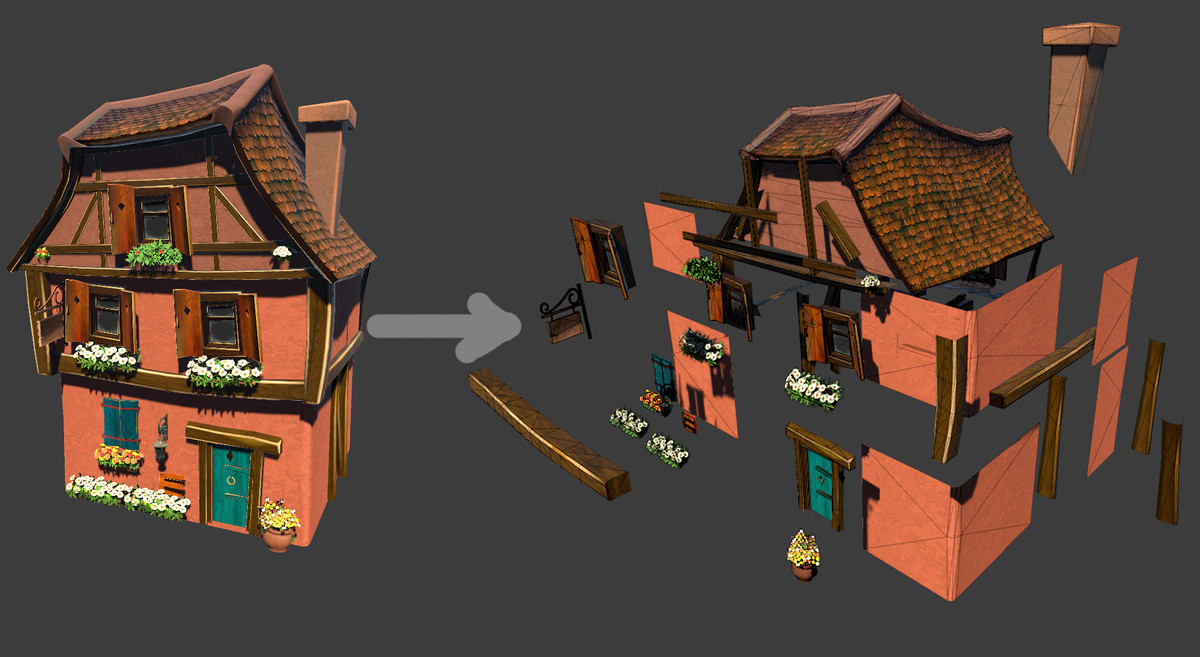
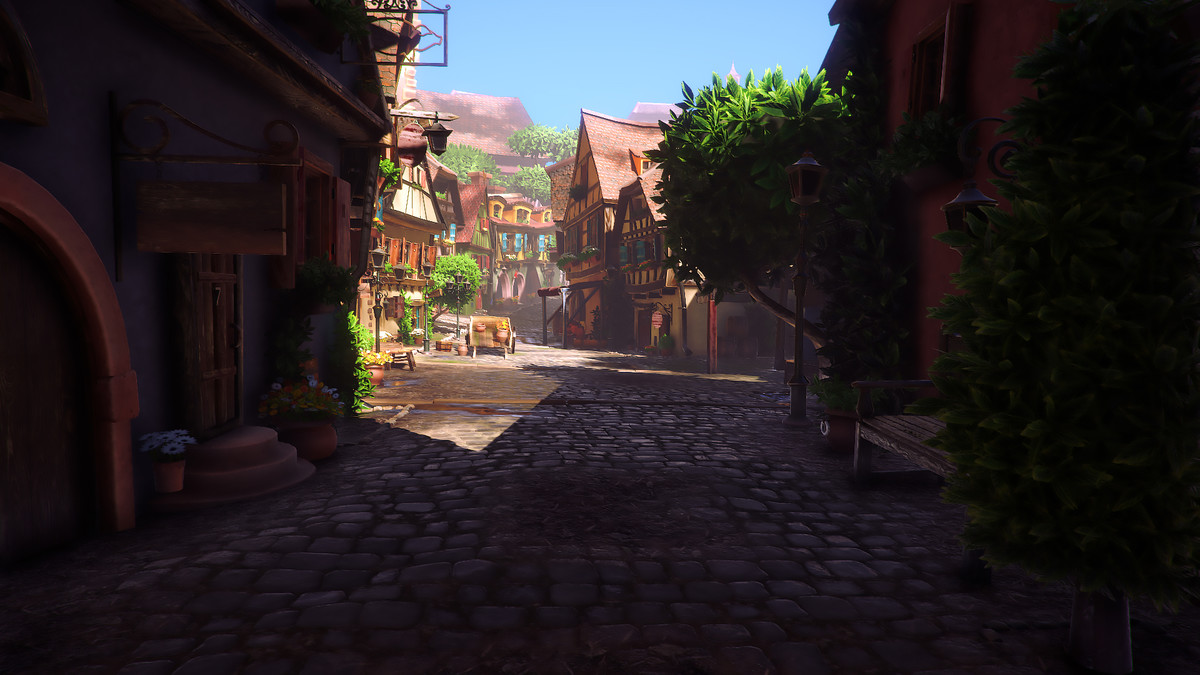
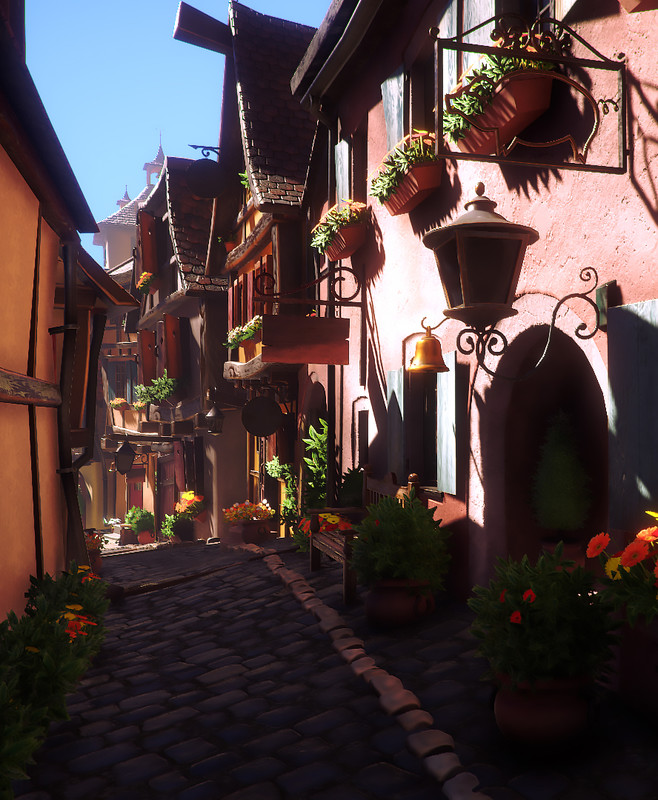
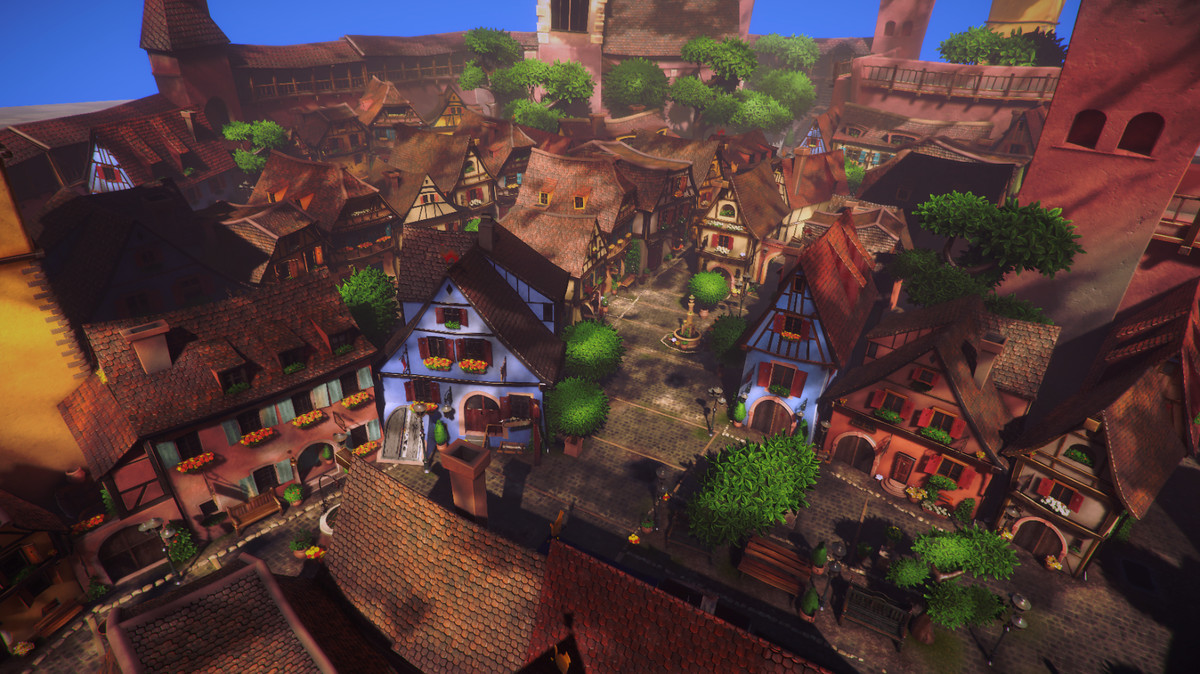
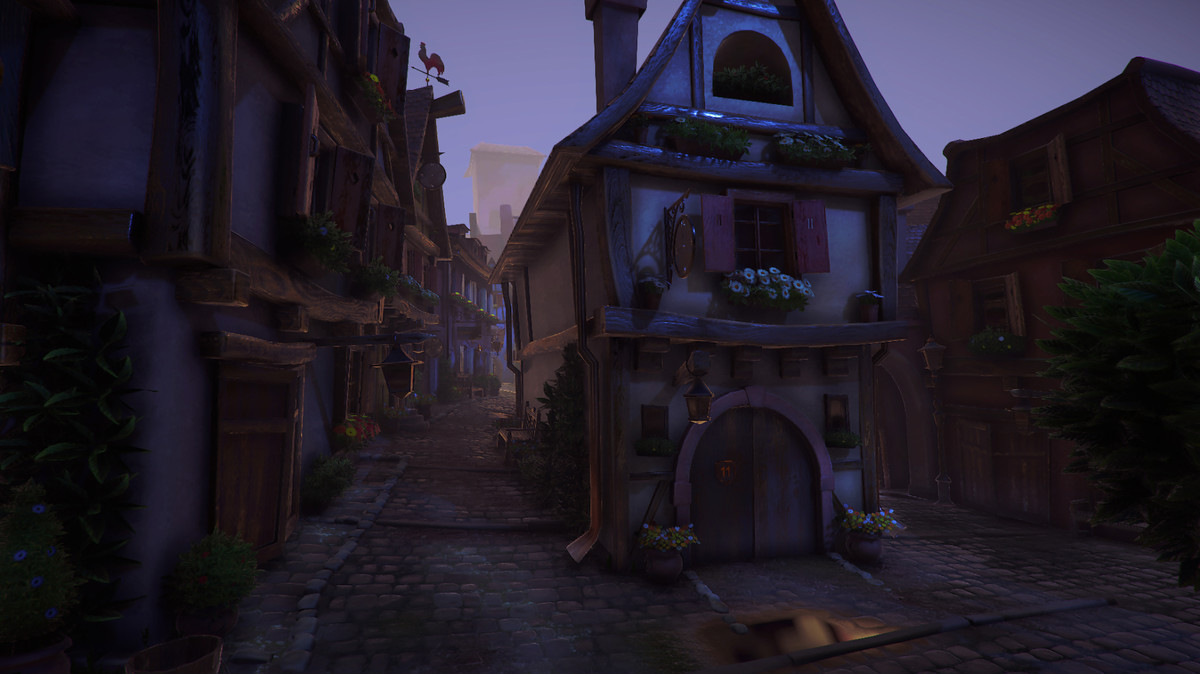
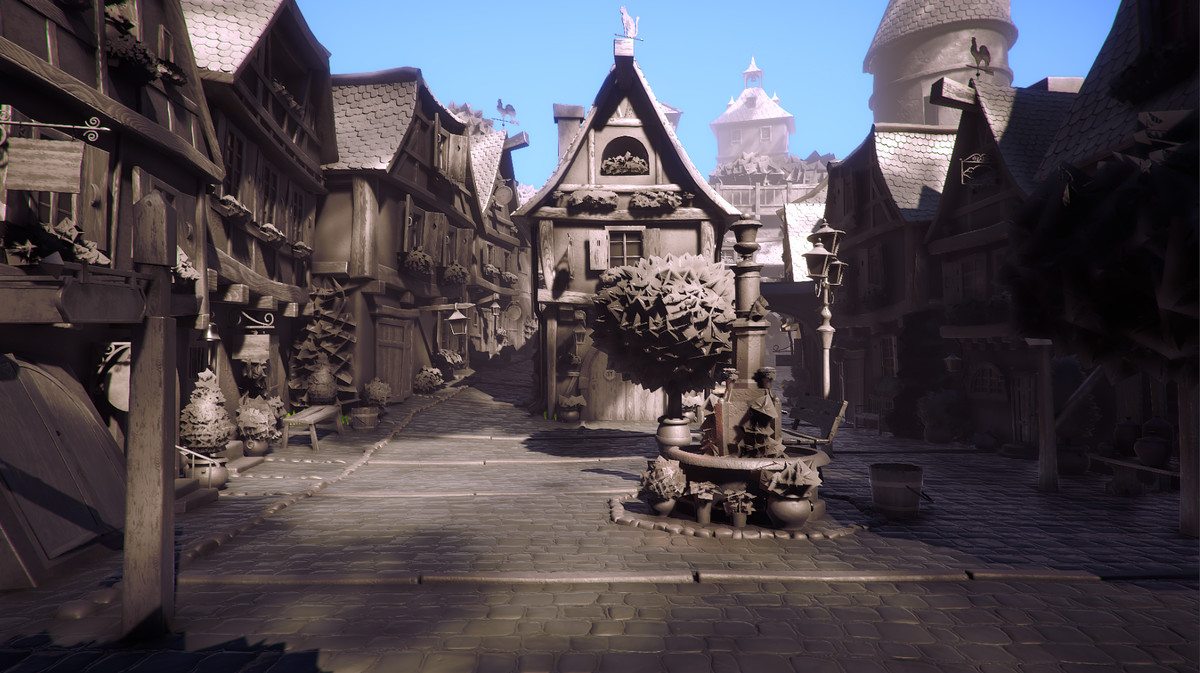
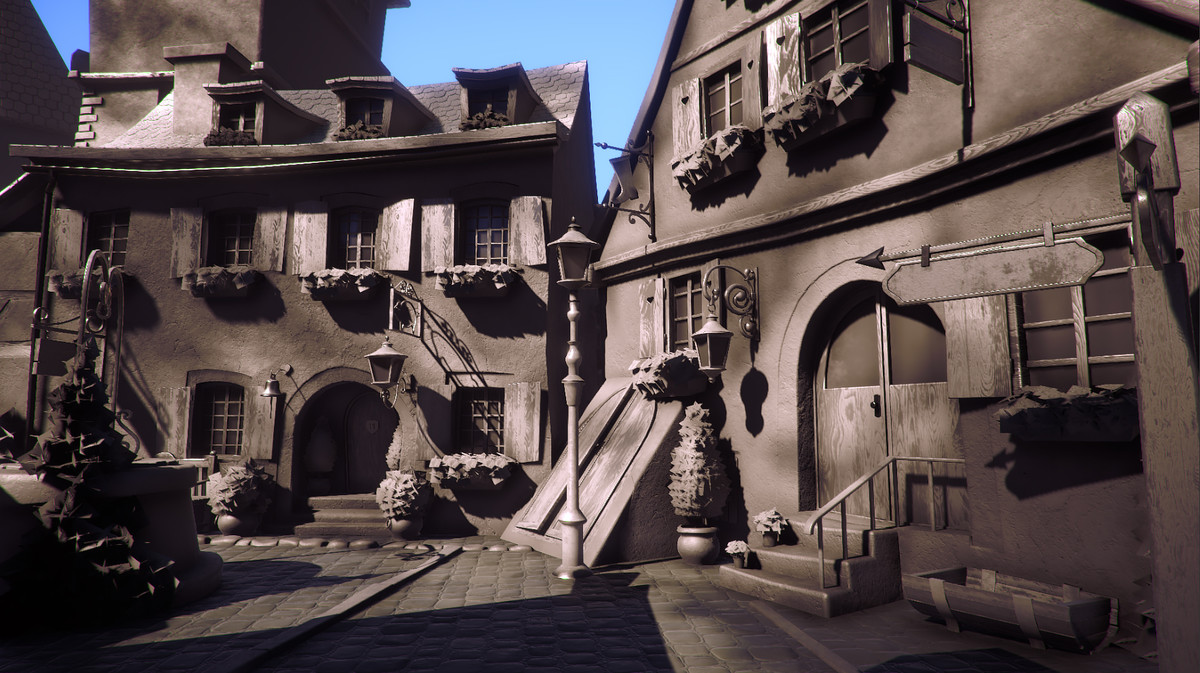
The package includes about 200 prefabs: modular houses, trees, flowers, lights, barrels benches, market shelves, bridges, and everything that you could see on screenshots.
- all textures are tileable, all houses sharing the same materials and textures. Details on houses and on the wood are painted with vertex color.
- we used in our environment a custom shader (included) with vertex color and texture blending by the alpha channel. You could quickly change house color using any vertex painter tool in unity or in other 3d software like Maya, 3ds Max... Also, you could use standard materials with different colors.
- in our pack, you could find ready to use modular houses and assets like planks, doors, and windows to build your own house.
- two demo scenes from screenshots included in this package.
The package includes Standard Asset packs for camera effects. Such as characters pack, effects pack, and cinematic image effects pack.
Please note, this pack contains only environments and you can't go inside the house, interiors are not included!
You could download demo scene from the video here and check it on your PC. P.s Before using Village demo scenes don't forget:
For older Unity versions (2017;2018 or similar) 1. Change to Linear color space in Edit/Project Settings/Player
2.Download Post-Processing?aid= Stack
3. Make sure that Post Processing Behavior added to your camera and VillagePostEffect from the Demo folder added to it.
For Unity 2020+ 1. Make sure that you downloaded the version for Unity 2020+
2. Install Post Processing from the Package Manager if it's not installed yet.
Window - Package Manager - Packages: Unity Registry- Post Processing - Install
And reopen your scene
3. Make Sure that you are using Linear Color space in Project settings
If you have done everything correctly, the picture should be the same as on the screenshots.
If not, make sure that post effects applied to the camera, color space is linear and indirect lighting was generated.


